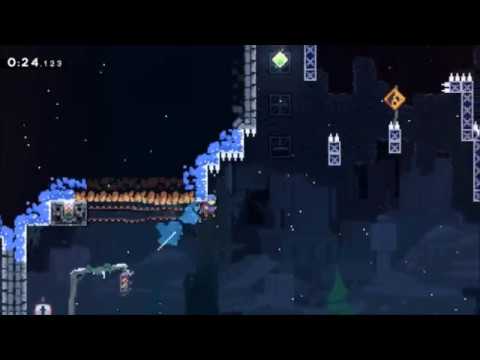
[TAS] Forsaken City B-Side Completed in 7 Grabs
READ DESCRIPTION FOR MORE DETAILS
1b is way more involved than most levels - we've managed to save 13 grabs since our initial runthrough, thanks to precise movement, grabless platform activations, and a new walljump tech which requires subpixel precision.
The grabs in this TAS are at 0:40, 0:43, 0:54, 1:07, 1:09, 1:32, and 1:34.
The human record is 12 grabs: 1 additional in Start- 5, Scrap Pit-1, and Scrap Pit-2, and 2 in Scrap Pit-5.
Because of the amount of crazy strategies that are in this TAS, I've decided to comment on any notable rooms:
Start-1 (0:06): This room isn't particularly complex, but is a good introduction to what grabless 1b is like. We can't get past the first obstacle in the room without grabbing or dashing, so we have to do an elaborate series of jumps to get through the room instead.
Start-2 (0:11): Jumping off the first platform is way more precise than it looks, especially since it's not too hard for a human to do. It requires both your x and y position to be accurate to about 1/5 of a pixel. This is, of course, not hard for a TAS, and the RTA setup is just holding right on the right frame and getting lucky.
We then do a grabless platform activation on the second block. (This is not required but is slightly faster.) By moving over a platform while moving up at ~.5 pixels/frame, it is possible to activate a platform without grabbing it or landing on it. We combine this with another tech to get over the block -- by hitting the block just as our dash ends, we can actually preserve speed from the dash.
Start-3 (0:16): Another platform activation, followed by a spikejump of the back of the platform. It's (generally) only possible to hit spikes when moving towards them. As both the spikes and Madeline are moving to the right, it's possible to jump off the wall behind the spikes.
Start-4 (0:22): By hitting the last pixel of the ground here we can preserve downwards speed and coyote jump much lower than usual.
Start-5 (0:28): The walljump up to the block is absurdly precise. To walljump up to a wall 5 tiles away requires a y-position precise to 7/60ths of a pixel and an x-position precise to 5/60ths of a pixel. Somehow it only took me 4 minutes of TASing to get it.
Scrap Pit-1 (0:59): Alternate (and much easier) method here of activating a platform with a wall jump.
Scrap Pit-2 (1:07): Another 5-tile wall jump, but this one took 2.5 hours to TAS, not 4 minutes.
Scrap Pit-5 (1:25): The chained ultra that skips the first of the series of blocks gets high enough to grab the block, but not high enough to jump off it. Not sure why that's possible but it is.
All info on what requires grabbing is at https://docs.google.com/spreadsheets/...


