[TAS][SNES] Goof Troop "Co-op" by RaZNope in 15:52.054
This is a tool-assisted speedrun (TAS). I used tools such as frame advance, savestates and RAM watch to complete the game. I do NOT compete with regular speedruns in any way. This is an improvement of the old TAS of Randil and mmbossman, which can be seen here: https://www.youtube.com/watch?v=Lm0Xk...
In this TAS, I control both Goofy and Max (Co-op). Goofy can be seen as the tank, whereas Max is the quick one. Unlike the old TAS, I decided to take damage and use death abuse to complete the game even faster. Randil collected some useful information about Goofy's and Max' stats here: http://tasvideos.org/GameResources/SN...
Timing information:
TAS-timing starts from poweron and stops on the last button press (S-press when ingame time of level 5 is shown). RTA-timing starts when player's are selected and stops on "STAGE CLEAR" at the end of level 5. The SNES runs with 60.0984755 FPS. Ingame time is shown after the credits. Stage ingame time is shown after each stage, but won't appear here, because I click it away to start the next stage.
Timing:
Frames: 57217
TAS-timing: 15:52.054 min
RTA-frames: 56914 (STAGE CLEAR) - 385 (player select) = 56529
RTA-timing: 15:40.606 min
Ingame time:
Stage #1: 01:34
Stage #2: 02:05
Stage #3: 02:59
Stage #4: 03:32
Stage #5: 03:18
Total : 13:28
Let's break down some of the tricks used in each stage. To better understand what's happening, I refer to the rooms as displayed on Randil's maps that can be found here:
Stage #1: http://oi41.tinypic.com/2zzhxj7.jpg
Stage #2: http://oi44.tinypic.com/2d1u7t3.jpg
Stage #3: http://oi39.tinypic.com/9icq4x.jpg
Stage #4: http://oi41.tinypic.com/141861i.jpg
Stage #5: http://oi42.tinypic.com/23rpp1k.jpg
Stage #1
There is not so much to say about this easy stage. In most cases, this is just better optimization. There are some different strats in rooms 10 (damage boost), 9 and 8 (2nd pass, killing enemies). I absolutely love the bossfight of the first stage, which is a 172 frames improvement. Also, big thanks to RNGesus for finally giving me a great pattern after a shit-ton of failures.
Stage #2
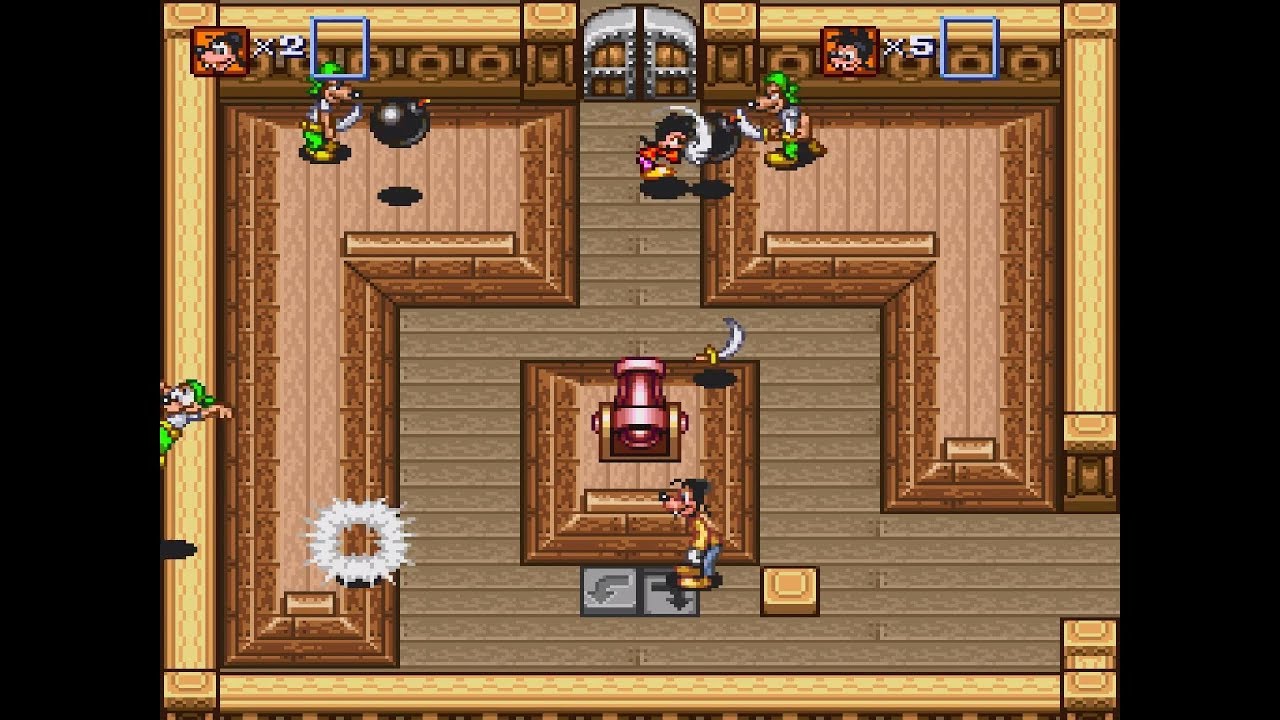
This stage starts with Goofy running into everything to die before entering room 7. This room and the next ones use a slight variation of the speedrun strats with Goofy getting the hook gun to grab the barrel in room 4. Room 8 is one of my favourite tricks (Max dying while Goofy picks up item), which is 35 frames faster than re-entering the room and 14 frames faster than the old TAS. The puzzle room could be even faster but gives a shit pattern for the next room, in which I damage boost with Goofy. Stage 2 bossfight is 32 frames faster.
Stage #3
Probably my favourite stage. This TAS uses the speedrun strat for room 2 saving 183 frames. The timer for the canons in rooms 11 and 22 are linked to the RNG values, just like everything else. Due to better RNG, I was able to save some frames again. The NOPE-room (16) is actually some frames faster with Max and Goofy switching routes. As Goofy has to die a lot afterwards, this strat is still faster, because dying two times in the next room is pretty slow for the TAS. Rooms 17 and 19 were improved alot, too. Again, after many tries, the speedrun route happened to be the fastest. Room 21 uses my favourite useless trick in the game. When Goofy gets hit in the face on the first frame he falls down, the animation for being hit is triggered first. This makes Goofy a true cartoon character, only falling down after recognizing there is no ground under his feet. Good job, Goofy! RNG for the skeleton-bossfight is crucial. I spend way too much time in this room with shitty patterns, but ultimately being 137 frames faster than the old TAS.
Stage #4
After the great skeleton-bossfight, both frog rooms gave me only slow patterns. Most rooms are quite similar to the old TAS, some of them a little better optimized. I found a great pattern for room 21 saving 23 frames. Also, the room before the boss (24), could be improved by 51 frames by letting Max go to the right side. Max can still reach the door in time, because it takes ages to open. Not many RNGs were possible for bossfight and all gave me a slow pattern (stupid green tapeworm moving horizontally first), which made me lose 21 frames. Rest of the bossfight was alright so I could improve to only lose 14 frames total. So kids, the lesson to be learnt here is to always throw stuff at your tapeworms to get rid of them! Also, please do not imitate at home.
Stage #5
Biggest timesaves come from this stage. The first big save is the damage boost in room 2 together with Max helping Goofy. Puzzle in room 5 can be solved 22 frames faster than with old strats. After room 6 the route is changed to the current speedrun route, which should be about 10 seconds faster. Big timesave in room 16 with the fat fuck in the labyrinth. Also Goofy has no influence on the enemy movements. The last two rooms are 117 and 56 frames faster, too. Pete is 105 frames faster.